Showing posts with label before you begin. Show all posts

Introduction
« BACK Introduction to AMVGuide NEXT »


VIDEO TUTORIAL 1/10: "Why follow AMVGuide?" ~ [3:33]


How do I use this Guide?


Hello,

and welcome to the "Guide" section of the site.

Before we begin, there are a few orders of business that need to be discussed. First, please be aware that this guide is a perpetual WIP (Work in Progress), which means sections are constantly being updated. As such, if you cannot find what you are looking for, please use the search box at the top of the site; otherwise, you can always try poking around the forums on AnimeMusicVideos.Org


About the Navigation Menu (on the right )
  • Un-Visited Sections will appear Light-Blue
  • The Section You Are Currently On will be Highlighted-Black/Yellow
  • Visited Sections will appear Greyed-Out

For your convenience, there are also « BACK / NEXT » Links on the top & bottom of every page so you can always check which section you came from and what section is coming next. At the bottom of each section, there will also be an area for TIPS and RELATED LINKS. You can usually find useful information there before moving on to the next section.


TIPS:
  • Using the Hotkey combination Ctrl+F on your keyboard is a very powerful way to Find information on a page.
  • To make Visited Links re-appear as Un-Visited Links, simply clear your browser history; or use something like CCleaner.
  • The RELATED LINKS box is for Optional/Advanced info.


« BACK (DONE: Introduction to AMVGuide) NEXT: Objectives »

Objectives
« BACK ObjectivesNEXT »


"Objectives! ~Desu"


Objectives of AMVGuide


Objective 1: Gain Absolute Control of our source footage
Control.
If we truly want to edit our footage the way we want, it helps if we know how to control things like Framerate, Interlacing, Resolution, and anything that will impact image/encode Quality etc...

Some steps may seem like a pain at first, but once you know how to do them, you won't be constrained by the limitations of your editing program. Then you can bend your footage to your will, and manipulate it however you need.


Objective 2: Make Audio AND Video Editing-Friendly
Editing-Friendly Formats.
Be aware that certain file formats/containers are better for making AMV's than others. In our case we will use: UtVideo within .avi (for video), and Uncompressed within .wav (for audio). Once converted to these formats, you generally get:

- Faster Seek-Times for improved editing speed. This allows you to easily scrub the timeline and rearrange clips.
- Truly Frame-Accurate footage allows for precise cuts and accurate rendering; very important for Timing/Synchronization. 
- Improved Stability prevents glitches and program crashes... and you obviously don't want that...


Objective 3: Create the AMV that you want
It's your AMV.
Because in the end, ♫ it doesn't even matter ♫ any advice you get is simply intended to help you create the AMV you want. Never let it turn your AMV into something you don't want.

Remember, you are the creator of your AMV, regardless of who you are making it for, or what you are trying to achieve. Make what you want. And if you are happy with your work, that's usually all that matters. That being said, I would still take the technical advice in this guide more seriously for the reasons mentioned above.


TIPS:
  • Some formats are better for Editing than others
  • Some formats are better for Online Distribution than others
  • Converting Audio is just as important as converting Video


« BACK (DONE: Objectives)NEXT: Requirements »

Requirements
« BACK RequirementsNEXT »


"...What do I need?"


Requirements


  1. A computer running Windows XP or later (Mac users go here)
  2. Lot's of Free Disc Space (20GB to 1TB+)
  3. Video-Editing Program - Adobe Premiere, Sony Vegas, and Magix Movie Edit are pretty common;
    See: Poll | Wiki | (Windows Movie Maker has limited settings, so it is not recommended)
  4. Anime & Music Sources --you know-- the pretty pictures and sounds :D
  5. Download, Unzip, and Install The Latest AMVapp (20MB) | About (Google how to Unzip files)
  6. Download and Install The CCCP (Combined Community Codec Pack)
  7. Watch Some Good AMV's


What type of files are these?


VIDEO TUTORIAL 2/10: "File Extensions" ~ [1:23]


What software do I need?


VIDEO TUTORIAL 3/10: "Programs & Tools" ~ [5:08]


The Final "Requirement"


To repeat #7: The best thing you can do to make good AMVs, is to check out some Top-Rated Examples.

I acknowledge that everyone's concept of 'Good' is a bit different, and your work doesn't need to be just like these videos --This isn't about duplicating the work of others-- --and neither is it about feeling shame to avoid copying others either-- This is simply about being aware of what can be accomplished by learning from the past. It's about becoming open-minded. To see things from the perspective of other people; editors and audience alike. And of course... it's about enjoyment too ^__^

As such, things like Requirements, Education, and Learning should never be viewed as obstacles that are in your way. Rather, they should be viewed as things you actively want to experience. If you just keep that in mind, I believe you'll come across a whole world of things that just may surprise you.


TIPS:
  • Try downloading the Trial Versions of various Video-Editors to see what program feels best for you.
  • External Hards Drives are great for extra disc space
  • Showing File Extensions is a good way to distinguish between file types. Example: "AMVapp31.zip" is a .zip file


« BACK (DONE: Requirements)NEXT: Common Mistakes »

Common Mistakes
« BACK Common MistakesNEXT »


*facepalm*


Common Mistakes


Please DO NOT do this...

1. So, I can just drag and drop my original footage into my editor right? [+]

2. So, I can just drag and drop my original audio into my editor right? [+]

3. My footage has a resolution of 720x480. It's supposed to look like that. [+]

4. My footage has a framerate of 29.97fps. It's supposed be like that. [+]

5. When I'm done my AMV, I just export/compress with my editing program. [+]

6. I want to have clean footage, so I'm going to add all these filters to anti-alias, remove grain, smooth, and derainbow etc. That way I am guaranteed to get the best quality, right? [+]

7. I'll just use my program's default settings. It knows what's best for me right? [+]


TIPS:
  • It is best to read this guide in the order shown on the left
  • Feel free to bookmark important parts of this site
  • If you have any tips you want to share, leave a comment ;)


« BACK (DONE: Common Mistakes)NEXT: Other Considerations »

Other Considerations
« BACK Other ConsiderationsNEXT »


"...hmmm...I didn't think of that."


Other Considerations


Here are some things you should probably consider before starting your project.  I'll try to expand on each of these later.  But for now you can check out the RELATED LINKS section.  I strongly encourage you to do so.
  1. AMV Concept
  2. Anime Choice
  3. Music Choice
  4. Fit (how well do the two go together)
  5. AMV Genre
  6. Motivation
  7. Your Audience
  8. Collaboration
  9. File Organization


Other *Other* Considerations


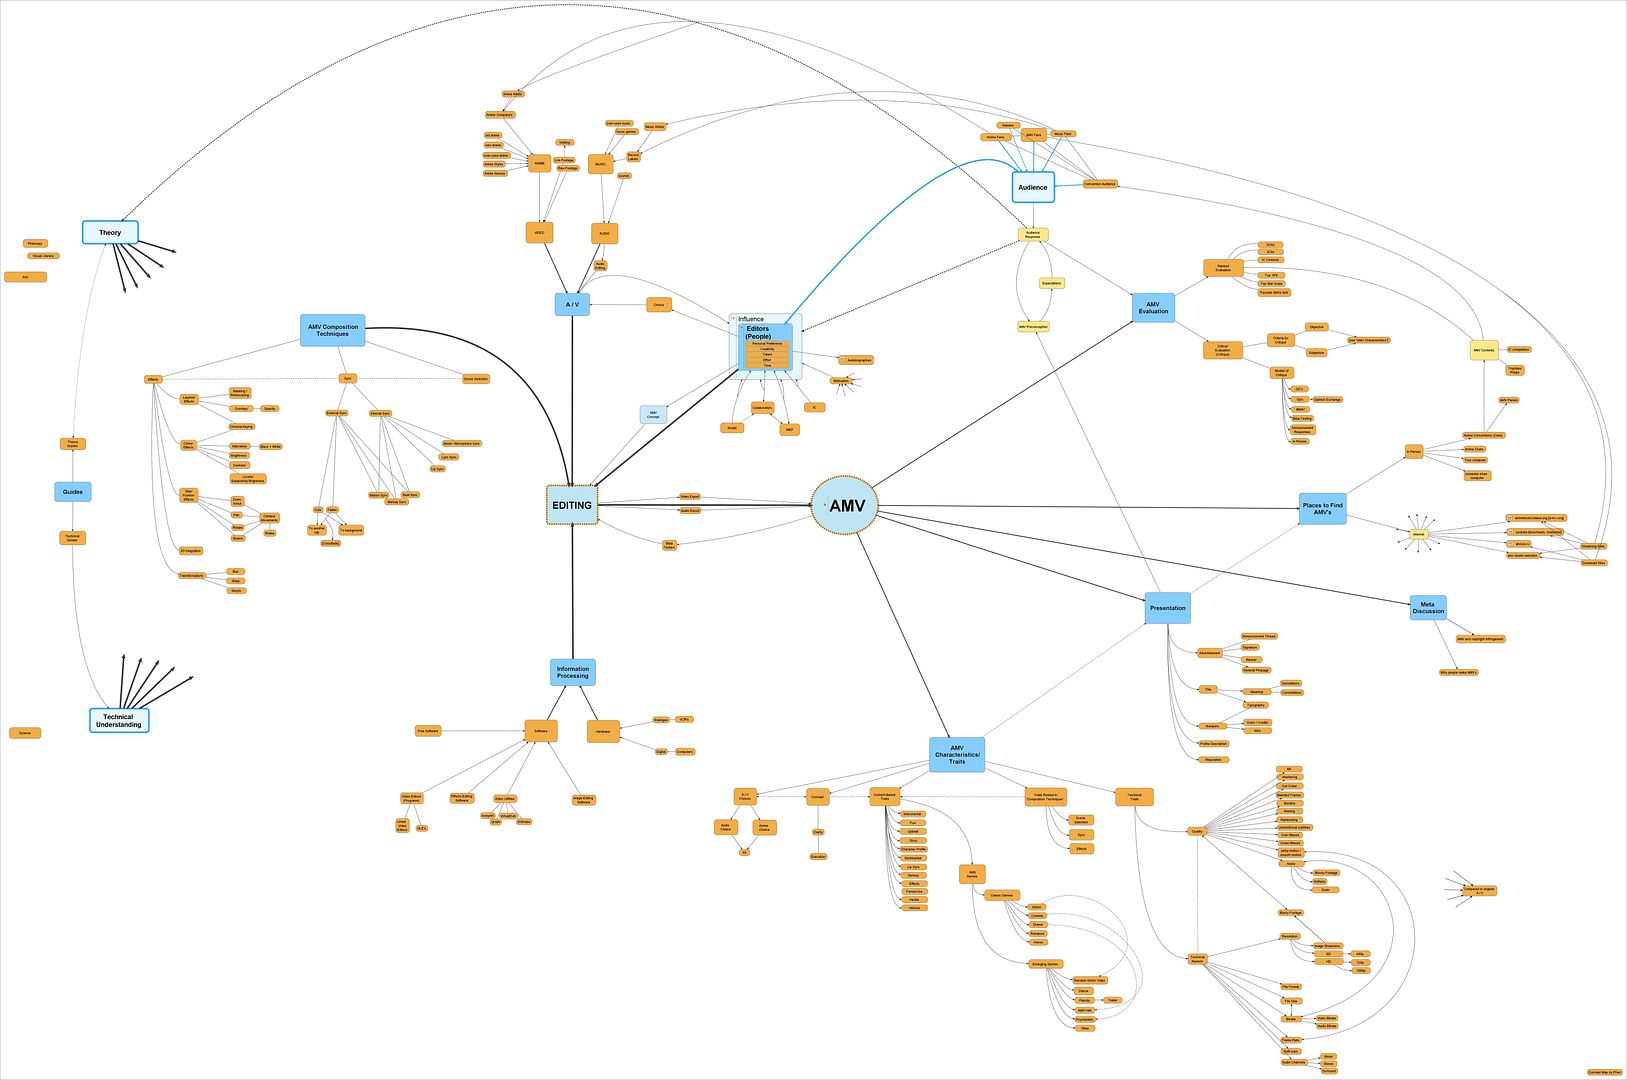
AMV Concept Map (circa 2009)
(I suggest downloading and viewing it with an image viewer like FastStone)

[+] Know what you are trying to accomplish
[+] Flow
[+] Patterns
[+] Predictability/Unpredictability
[+] Technical Understanding
[+] Study
[+] Honesty
[+] Workflow
[+] ...on that note: Work Smart, not Hard


AMV Hierarchy of Limitations


"Narrow down your choices to those that limit you most, so you don't waste unnecessary effort on footage that won't ever make it into your final AMV."

(I find this approach can make your life soooooo much easier when deciding how to start a new AMV.)


TIPS:
  • Often, Preparation is key to a good video
  • Studying good AMVs can help improve your own videos
  • Experimentation can lead to great things


« BACK (DONE: Other Considerations)NEXT: Flow Chart »

Flow Chart
« BACK Flow Chart NEXT »


"It's all a piece of cake by the time you are done this guide."

Notes [+]


"We're gonna do all that...!?"


Hey now, you've read this far already, so don't let a little flow chart scare you away. Yes, it looks intimidating at first... but realize that you won't be doing all of the steps in the flow chart anyway-- just the ones that apply to the specific type of audio/video you are working with :)

It's not even that bad when you get used to it. I mean, a lot of great AMV editors follow this sort of methodology as second nature, without even thinking about it; where the steps go by so fast that sometimes the method is taken for granted... leaving newbies scratching their heads.

But this flow chart shows everything. And it contains all the main steps involved in the whole process, so don't be scared; it'll actually make your life easier, especially if you combine it with the Quick Steps in the next section.

But if that's still too much work for you, you can always try your luck in the RESOURCES section.

Otherwise, continue on... :P

TIPS:
  • Hover over the chart to jump to a section;
  • but please don't skip sections until you've gotten there first.
  • If you have any questions, use the Public Comment Boxes


« BACK (DONE: Flow Chart) NEXT: Quick Steps »

Quick Steps
« BACK Quick StepsNEXT »


SPEED TUTORIAL: "All Steps Condensed" ~ [10:18]


Disclaimer: The above "Quick Steps" are for those that just want the basics to getting started.
If you want more in-depth information, please read the rest of the guide too.


Quick Steps for Making an AMV "Technically" Correct


A. Download AMVapp (0)
a. UnZip contents (1)(2)(3)
b. Install the following (4):
- avisynth
- avspluginspack
- avspmod
- virtualdub
- utvideo codec (5)
c. Download & Install CCCP

B. Open your footage with AvsPmod (6)
a. If directshowsource() is present, it is preferred to replace with ffvideosource()
b. Make any desired changes (7)
c. Save your script and close AvsPmod (8)

C. Open your script with VirtualDub (9)
a. Video > Compression > Ut Video Codec YUV420 > ok
b. Video > Fast recompress ; Audio > No audio
c. Mark off the Start and End points of the segment you want (10)
d. File > Save as avi... (11)(12)
e. If you want to save multiple clips in a row without waiting for each clip to render:
- File > Queue as Batch Operation > Save as Avi... (or Ctrl+Shift+F7)
- Then once you are ready: File > Job Control > Start
f. Wait for all clips to render, then close vdub

D. Edit your AMV using your Lossless .avi file(s) (13)(14)(15)(16)

See Notes [+]


TIPS:
  • Always refer back to the Flow Chart or Menu if you get lost
  • You can also check out my Video Tutorials on YouTube
  • And be sure to check out the Blog from time to time


« BACK (DONE: Quick Steps)NEXT: SECTION I: AUDIO »